7 Ways to Fix an iPhone that won’t Charge. When your iPhone stops charging, it is one of the most stressful and inconvenient situations that may occur with the device.
But don’t panic. There are a few very simple reasons why this might happen, and it is typically not difficult to find a solution to these problems.
When you locate an iPhone that won’t charge, it’s normally cause for significant concern due to how much it costs.
Is it giving up the ghost for good this time? Will it be possible to save money by not having to replace it or will expensive repairs be required?
Things may and do go wrong, despite the fact that iPhones are often regarded as some of the greatest mobile devices available.
To your relief, there are a few things you can try in order to either revive your iPhone by allowing it to once again accept a charge or determine whether or not the issue is innate to the device itself.
It is also a good idea to check the overall health of your iPhone’s battery whenever you remember to do so by going into the Settings app and selecting the Battery menu.
You’ll have a better sense of how long your iPhone will continue to function if you do it this way.
7 Ways to Fix an iPhone that won’t Charge 2024
1. Turn it off and back on again
It is helpful to restart the system if you are debugging an issue in order to determine whether or not doing so resolves the problem. If the battery life of your phone is still sufficient, restarting the phone and then attempting to charge it again will help.
Note that this step will not work for you if your phone’s battery is already entirely dead or if it is very close to running out of power (less than 5%).
2. Verify that your phone is not charging
Make sure that your phone is not already charging before continuing. Check the display while your phone is charging in the manner that is most comfortable for you, whether that be wirelessly, by plugging it into an AC adaptor, or by plugging it into a USB port on a computer.
If the battery has already died, you should allow it to charge for around two hours before checking on it again.
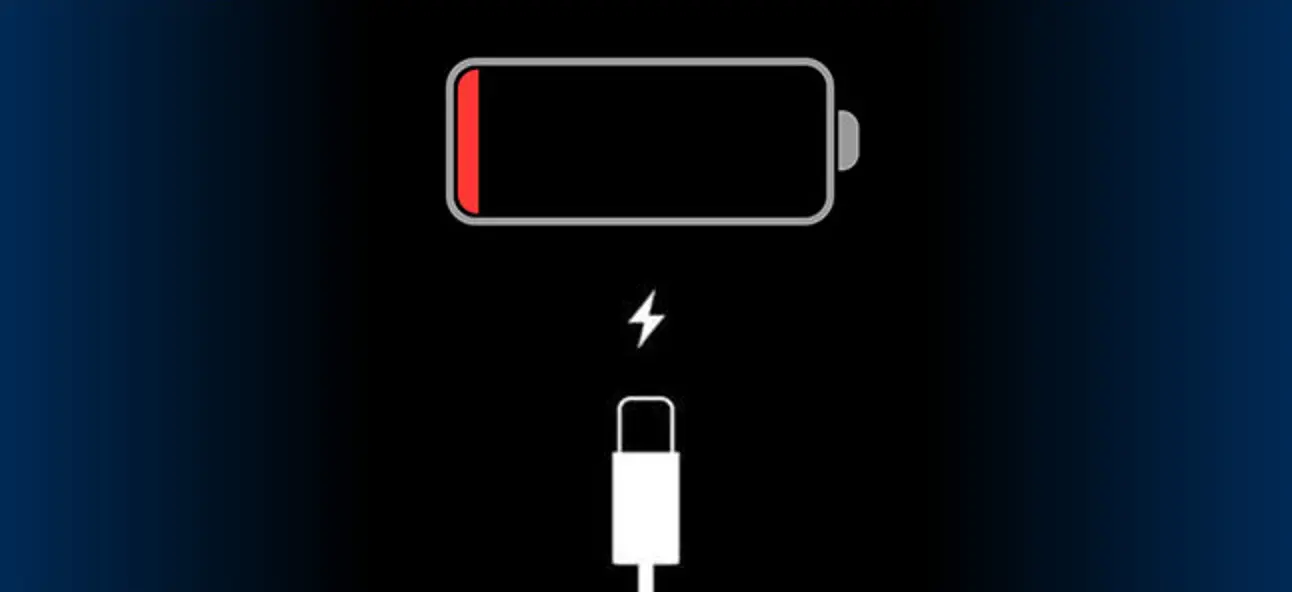
You should see a lightning bolt in or next to the battery icon in the top right corner of the lock screen on your iPhone. If there isn’t a visible lightning bolt, then the battery isn’t being charged.
3. Check your iPhone’s Lightning port
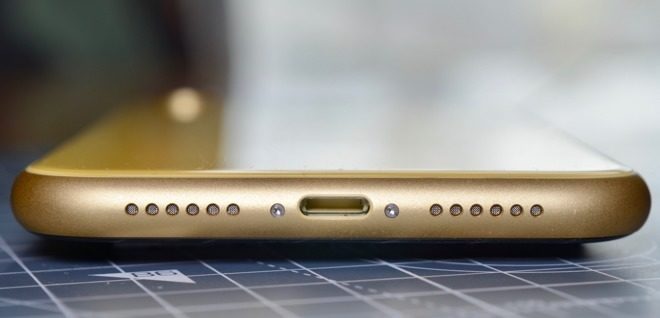
In the event that your iPhone is not charging as it normally does, the Lightning port is the next thing you should check out on your device.
This happens much more frequently than you might believe it does. After all, we spend a significant portion of our time stuffing the port-end of the phone into pockets, backpacks, and other locations that are full of dirt, debris, and lint.
Look closely, and if you find anything, remove it gently using a toothpick or any other non-metallic pointed object that can fit in the port.
If you do find something, look carefully, and remove it gently using a toothpick. If you have access to a can of compressed air, you should also give the port a quick blow of that.
Make another attempt to charge the phone. Proceed to the next step in the troubleshooting process if it is still not functioning properly.
4. Inspect your cable
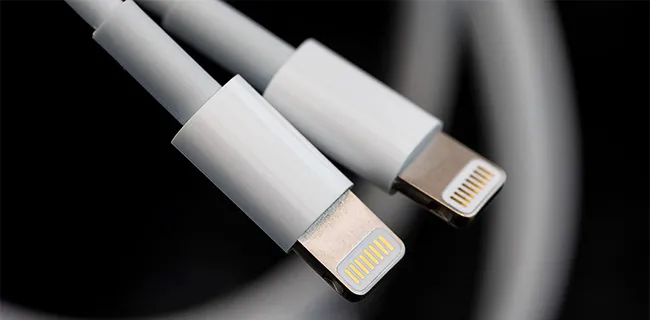
If you’ve had an iPhone for a significant amount of time, you’ve definitely experienced a broken or frayed cable. This occurs when the rubberized outer sheath of the cable breaks as a result of continuous bending, exposing the wires underneath.
You should obtain a new cable and toss away the old one if the cable has that appearance and it isn’t charging your device as it should be.
However, Lightning cables are subjected to a significant amount of wear and tear, and faults aren’t always visible to the human eye. It is possible for wires to snap while they are still contained within the sheath in some instances.
In addition, there have been reports of low-cost third-party Lightning cables suddenly being inoperable. This is typically the result of a malfunctioning power regulator chip included within the cable.
There is no reliable method to physically inspect any of this, so the easiest approach to test your Lightning cable is to just try another one; preferably, a completely approved cable from Apple that is still in its original packaging.
5. Check for software updates
It is possible that the inability of your phone to charge is due to the fact that you are not using the most recent version of iOS.
Updates to the software on your device may not seem necessary when everything is working as it should, but they actually help prevent a wide variety of issues and can even improve performance.
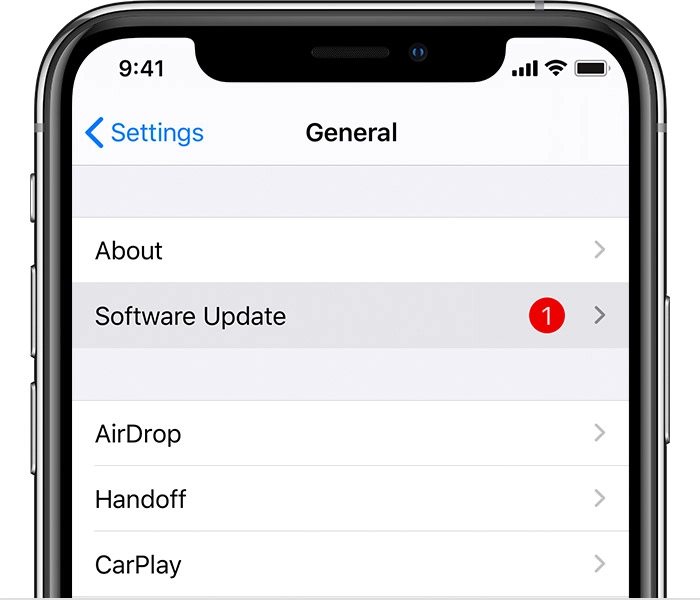
The following steps will walk you through checking your iPhone for available updates and installing them:
- Tap Settings and then General.
- Tap on Software Update. Your iPhone will now start searching for the latest iOS update.
- If an update is available, tap Install Now.
6. Try resetting and restoring your iPhone
When you’re having issues with your iPhone, resetting it to factory settings might sometimes help fix the issue.
A reset will bring it back to the settings that it had when it was first manufactured, which should solve any issues that you may be having with it. It’s your last chance to solve the problem on your own, and it’s definitely something you should try.
7. Take your iPhone in for service
In the event that none of these troubleshooting techniques are successful in restoring functionality to your iPhone, it is highly probable that the device itself has a malfunction. For assistance, please get in touch with Apple or visit one of their retail locations.
7 Ways to Fix an iPhone that won’t Charge 2024:Newshub360.net
Related Post
Credit :www.Newshub360.net


