AirDrop is only available on Apple’s iOS and MacOS platforms. (We apologize to those who utilize Android and PC.)
How to Use Airdrop on iPhone 2024
When it was released in 2012, one of the features that distinguished the iPhone from Android phones was its ability to use AirDrop.
Nearby Share, Google’s alternative to AirDrop, performs functions that are analogous to those of AirDrop and is available to users of Android phones.
To use AirDrop, you don’t even need the most recent version of the iPhone 14 Pro or a 16-inch MacBook Pro equipped with an M2 Max chip.
It is compatible with any iOS device that is running iOS 7 or a later version, as well as any Mac that is running OS X Yosemite or a later version.
The only thing that is “required” is that both of the electronic gadgets be within 10 meters of each other and have their Wi-Fi and Bluetooth capabilities activated. It appears that there is no upper limit to the size of the file that can be transferred via AirDrop.
Please keep in mind that the transfer time will increase proportionately with the file size.
Watch the video that’s been provided below if you’d want to get a step-by-step walkthrough of how I set up and utilize AirDrop.
Apple iPhone – Turn AirDrop On / Off
- Turning on AirDrop automatically turns on Wi-Fi and Bluetooth®.
- From a Home screen on your Apple® iPhone®, navigate:
- Settings
- General
- If an app isn’t available on your Home screen, swipe left to access the App Library.
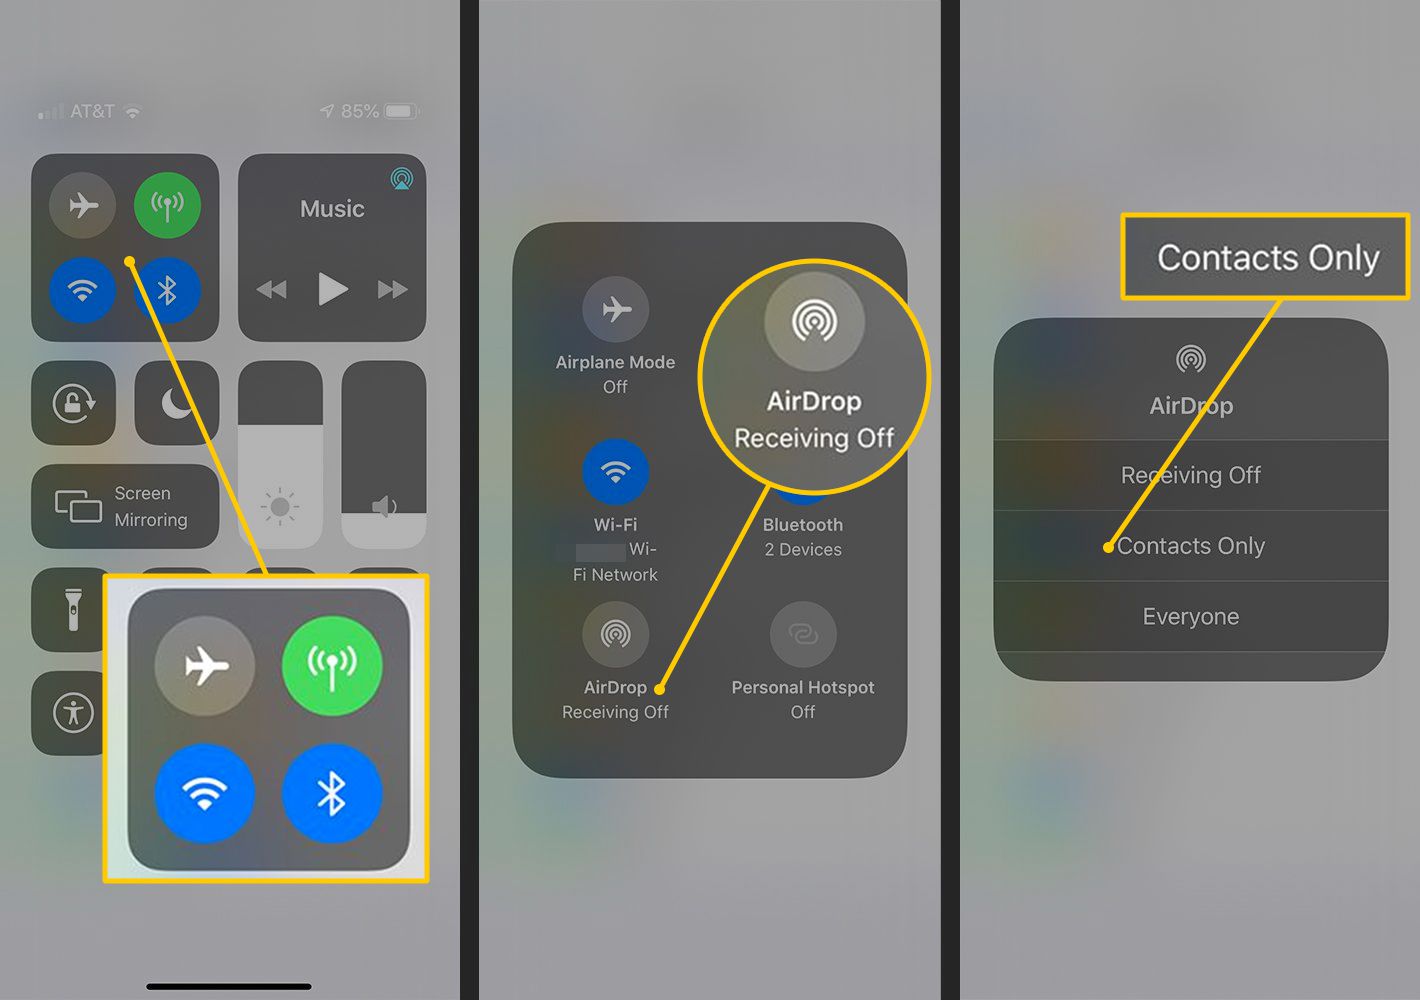
- Tap AirDrop.
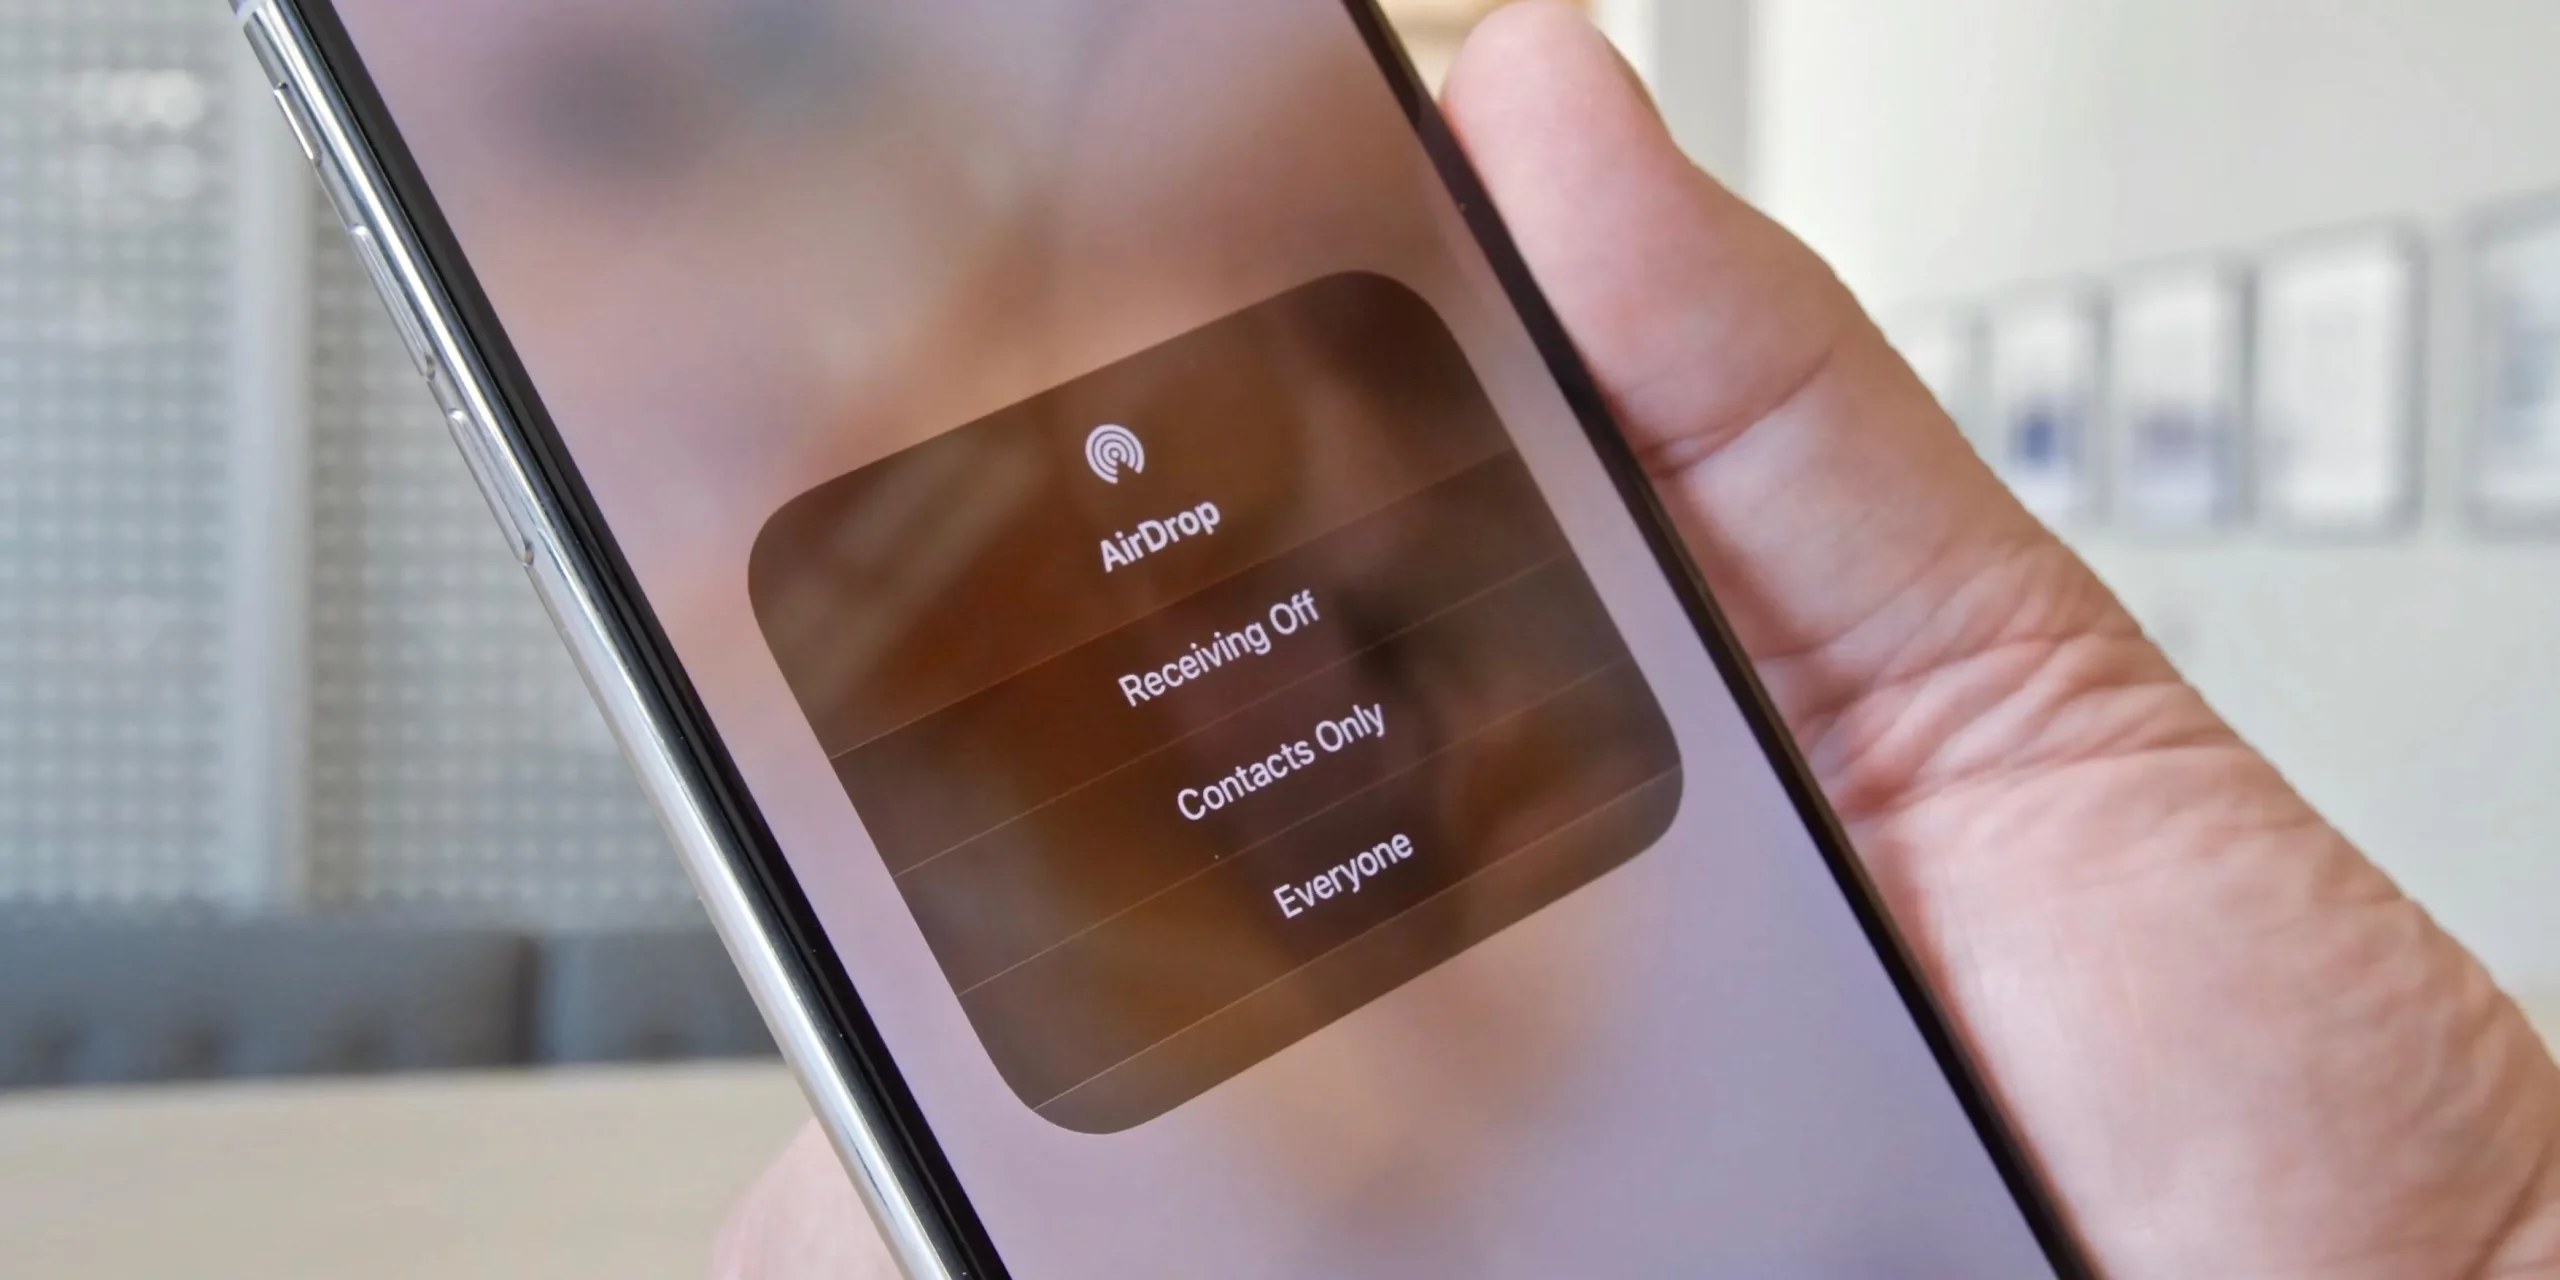
- Select the AirDrop setting:
- Receiving Off: AirDrop turned off
- Contacts Only: AirDrop is discoverable only by people in contacts
- Everyone: AirDrop is discoverable by everyone
How to AirDrop on an iPhone
When using AirDrop on an iPhone, the recipient of your file transfer needs to be in possession of an Apple device that has both Wi-Fi and Bluetooth enabled. Turn off any personal hotspots that either of you use, because if you don’t, AirDrop won’t work between the two of you. To the same effect, whether you are utilizing a virtual private network (VPN).
I don’t know the precise reason behind this, but my best guess is that it has something to do with the way a virtual private network (VPN) encrypts your connection to the internet.
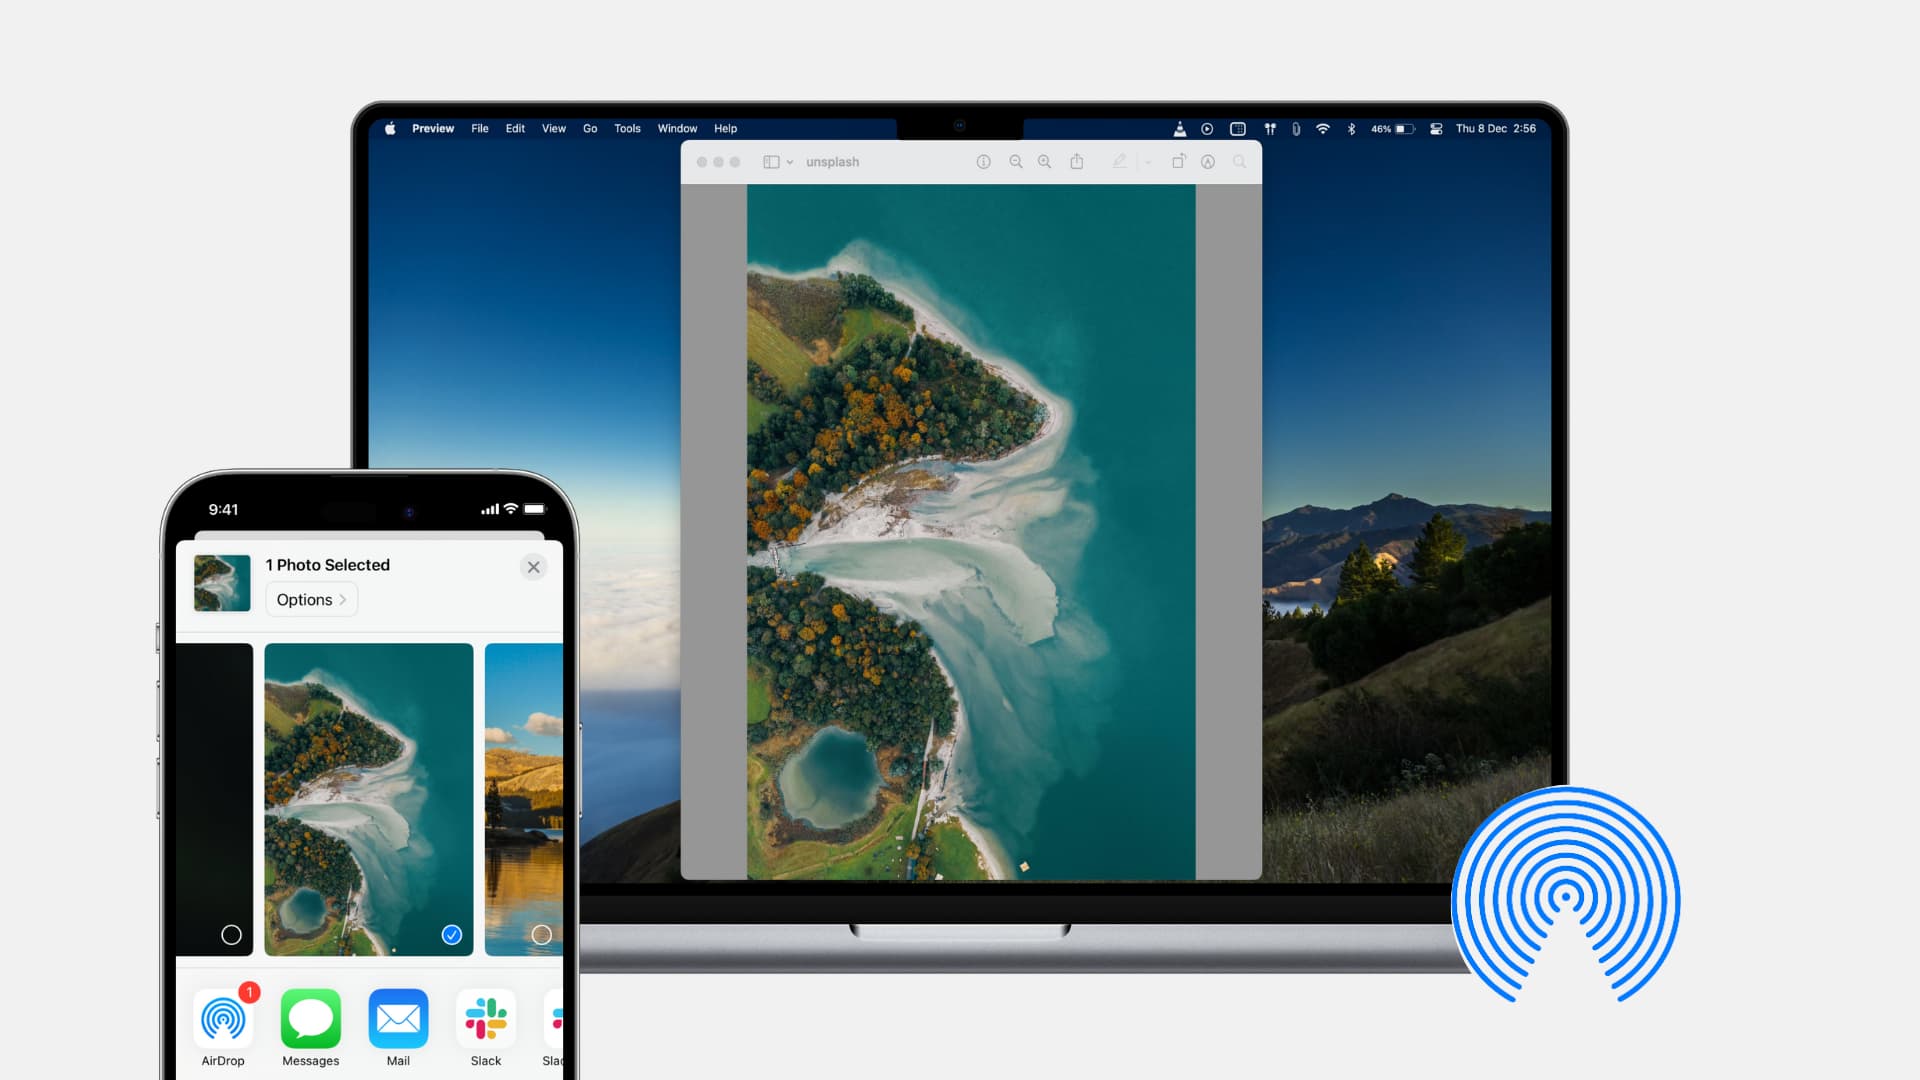
You will be able to use Airdrop whenever there is a Share button available on your phone (the icon resembles a rectangle with an arrow pointing upward).
When you do so, a list of all nearby Apple devices that are also enabled for Airdrop will be displayed to you at that time. To transmit to a specific device, tap its name in the list that appears.
Take the Photos app as an example; while you’re there, you might find a picture that you’d like to share via Airdrop. To access the Share menu, select the Share button from the toolbar. Tap the Airdrop symbol that is located at the very bottom of the menu.
After that, a window will show up that includes anyone in the vicinity who has Airdrop enabled. Tap the contact icon of the person you want to send the photo to when you have located them.
The phone of the recipient will then display an alert window that provides a sneak peek of the content that you are sharing with them. They have the choice to either Accept or Decline the offer. The photo you chose will be sent to them as soon as they select the Accept button.
The recipient’s pictures and videos are stored within the Photos app on their own mobile device. The recipient of the document will be prompted to select an application in which to save the file.
When you click on a link on the internet, the link will open in whichever web browser is set as your default, which for the vast majority of people is Safari.
If the recipient of your message has their Airdrop set to Contacts Only, then they will need to have a contact card in their Contacts app that includes either your email address or your phone number for this to be successful.
If you are not already in their Contacts list, you will need to ask them to alter their Airdrop setting to Everyone so that they may receive your file.
How to Airdrop on a Mac
First, make certain that both the Wi-Fi and Bluetooth features of your Mac are turned on, and then launch Finder. Next, select “AirDrop” from the available options in the sidebar.
Simply dragging and dropping a file onto the contact icon for the person you want to share it with within the AirDrop window is all that is required to transfer a file. Also, much as on iOS, you can utilize AirDrop anytime you see the Share button.
If you are using a Mac and are having problems sending a file via AirDrop, you can click the button labeled “Don’t see who you’re looking for” that is located at the bottom of the AirDrop Finder window. Then, click the Search For An Older Mac button that opens up.
What To Do If You Can’t AirDrop Photos?
If you have determined the reason why your AirDrop isn’t functioning, it should not be too difficult for you to resolve the issue.
However, if you are unable to determine what the issue is, you can either restart your phone or toggle the Bluetooth and Wi-Fi connections on and off on your device. Check the settings to see if there is anything that has been deactivated.
In addition, if you are unable to transfer files using any of the other methods, you might try using a file-sharing application such as AirDroid Personal. In the event that your AirDrop doesn’t function properly, there are several other options available.
You can transfer your data between iOS devices, Windows computers, and even MAC computers if you use a file-sharing app called AirDroid personal. Here are some of the reasons why AirDroid is your best option.
Airdrop Features: One App for Everything
Airdrop is exclusively compatible with Apple products. However, if you have AirDroid Personal, you will be able to transfer data across any and all types of devices with ease.
This is particularly helpful due to the fact that not everyone owns an iOS device. In the event that you don’t utilize a MAC, you can also use AirDroid to exchange content between your iPhone and a Windows computer.
If you want to get the task done on all of the different platforms, you just need to learn how to use one program instead of downloading a separate one for each operating system.
No Compromise on Quality
If you have ever sent files or photographs to someone else using a texting app, you have probably noticed that the quality of the transmission is drastically reduced.
AirDroid, in contrast to other file-sharing applications, does not compress your files, and the software does not lose any data during the transfer. Even after the transfer, the quality of all of your photographs and videos will remain the same.
super-Fast and Efficient
Even if you don’t have an internet connection, AirDroid Personal lets you upload data at a rate of 20 MB per second.
That way, you won’t have to go through any trouble when sending your files to your friends. It does function most optimally when used with WiFi and Bluetooth.
In contrast to Airdrop, AirDroid enables file sharing even when using a local connection between two devices.
If you have your mobile hotspot turned on, Apple may prevent you from using the Airdrop feature. Because with Airdrop, there is no need to worry about this. Therefore, the procedure as a whole is quite effective.
Other Features
AirDroid also has a plethora of other options for you to experiment with and use. If you want to view a movie on a larger screen or on another device, you can use this software to mirror your screen onto it.
After you have finished transferring a file, you can then text your contacts using the messaging system that is integrated into the program.
On Android smartphones, there is even a setting for remote control, which enables you to control your device even when it is not in your immediate possession.
How to Use Airdrop on iPhone 2024:Newshub360.net
Related Post
Credit :www.Newshub360.net


