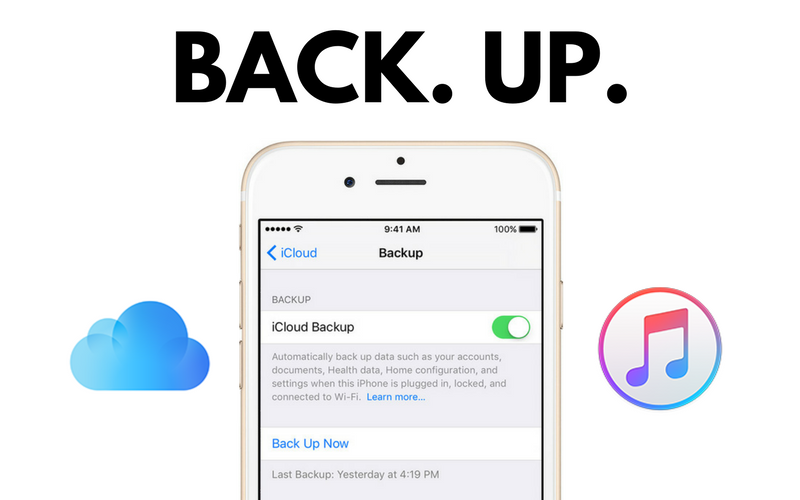
How to Back Up and Restore Your iPhone. It’s always a good idea to back up the data on your iPhone. It’s possible that your phone is acting strangely, and you want to restore it to its original factory settings before applying the most recent backup.
You might be getting ready to set up a new phone and want to transfer all of your existing info to it. It’s possible that you merely need to back up some data for your own peace of mind.
You can save a backup of the data on your iPhone, and then when you really need it, you can restore it from that backup.
Different platforms offer a variety of different ways to back up your phone. Users who are operating Windows, as well as those who are using older versions of macOS, have the option of backing up their phone via iTunes or iCloud.
Open the Finder application on your computer if you are on macOS Catalina or a later version. Another option that allows you to completely avoid using your computer is to back up your phone to iCloud.
Customers that subscribe to the cloud storage service offered by Google One (Opens in a new window) are also able to back up specific iPhone data, including as contacts, calendar appointments, and images.
What is backup?
A backup, also known as a data backup, is a copy of the information saved on your mobile device or personal computer that is kept in a different location. This backup serves as a safeguard against the loss of data.
The following are some of the causes that can lead to the loss of data:
- hardware or software failures;
- data corruption;
- virus or malware attack;
- accidental data erasure.
In this context, it is of the utmost significance to create backups on a consistent basis. Making a backup of your iPhone once every two weeks is a safe and effective technique to protect against the loss of a significant amount of data in the event that something goes wrong.
Cloud Storage vs. Local Backup
Each approach has both advantages and disadvantages. When you use iTunes or Finder, you may avoid depending on the cloud to restore your backups; however, this also means that you can only restore your backups from the Apple account that is associated with your machine.
In the event that your computer crashes, you will lose your backup. If you wish to back up important information such as passwords, health information, and other personal details, the good news is that you can encrypt a backup using either iTunes or Finder.
If you want to instead use iCloud for your backups, they will remain unaffected by any issues that may arise with your computer, they will be automatically encrypted, and they will be accessible from any location.
You can even back up your data to iCloud, and then restore it right from your phone, without having to go through iTunes or Finder first.
This is a very convenient option. If your backup consumes an excessive amount of data, you will unfortunately need to consider upgrading to a paid iCloud account.
Apple gives each iCloud user a free storage space of 5 gigabytes. You can get 50 gigabytes of storage for 99 cents per month with the premium plan, 200 gigabytes for $2.99 per month, or 2 terabytes for $9.99 per month.
For instance, the backup of my 512GB iPhone 14 Pro, which included approximately 190GB of data, required more than 20GB of space on iCloud; hence, I required the 50GB storage plan just to get started.
Another alternative for cloud storage is Google One, however iPhone users must get around a few restrictions while using this service.
Your contacts, calendar, photographs, and videos are the only things that can be backed up. Your applications, settings, and other items will not be backed up in this manner.
In addition, the Google One app that you have installed on your iPhone does not provide a direct method for restoring these data.
There is a free version of Google One that offers 15 GB of storage space, and there is also a paid membership option that offers 100 GB to 30 TB of space.
Back Up and Restore Data With iTunes
The first step is to launch iTunes and then connect your phone to your computer. Simply click the icon that represents your phone, and then within the Backups section, check to see that the option that corresponds to This Computer is chosen.
When you click the Back Up Now button in iTunes, it will begin making a copy of your phone’s data on your computer.
When the backup process is finished, the date and time of your most recent backup will be displayed in the timestamp that is located under Latest Backup.
You are going to need to encrypt the backup in order to save sensitive information including passwords, Wi-Fi settings, website history, and health data.
Mark the box next to Encrypt local backup and click the button. After entering a password, click the Set Password button.
If you have encryption turned on, iTunes will begin making backups of your phone as soon as it detects it. In that case, click the Back Up Now button.
After the backup has been completed, you will be able to check if it was encrypted successfully. Navigate the program’s top menu to the Edit > Preferences option.
In the window labeled “Devices Preferences,” select the tab labeled “Devices.” When a backup has a lock icon next to it, this indicates that the backup was encrypted.
All subsequent backups will be encrypted automatically so long as you continue to have the encryption option active.
Uncheck the box next to “Encrypt local backup,” and then confirm your encryption password. This will prohibit encrypted backups from being created.
Now let’s say you need to restore your iTunes backup, either to the same phone or to a new device. How would you go about doing this?
It is necessary to turn off the Find My iPhone feature on an iPhone in order to do a backup restoration on that device.
Navigate to the Settings menu on your phone, and then hit your name. Disabling Find My iPhone may be done by going to Find My > Find My iPhone. After entering your password, tap the Turn Off button.
After that, you’ll be able to link the phone to your own computer. Simply pick “Restore Backup” after clicking on the symbol of your phone.
When the dialog box appears, pay attention to the time and date to ensure that you have the appropriate backup option selected.
If this is not the case, select the backup you want to restore by using the drop-down menu and then clicking the Restore button.
In the event that the backup was encrypted, the password that was used to encrypt it will now need to be entered. After that, iTunes will begin the process of repairing your phone.
When prompted, sign into your phone using your credentials. Sign in once more once the maintenance has been completed.
It’s possible that you’ll need to wait until all of your apps have been updated and can be accessed. After doing so, you will be able to verify that all of your data has been preserved.
Back Up and Restore Data With Finder
You may back up and restore your iPhone without using iTunes if you have a Mac that is running macOS Catalina or a later version of the operating system.
Connect your iPhone to your Mac, launch Finder, and look for your phone in the list of available locations to begin configuring this feature.
When you perform this action for the very first time, Finder will require that you click the Trust button. Additionally, you will need to select Trust on your phone and then enter your passcode.
The next steps are very comparable to those found in iTunes. Choose whether you want to back up your data to iCloud or save it locally on your Mac by going to the General page and making your selection there.
If you select the box that is located next to Encrypt local backup, you will also have the option to encrypt the backup. Click the “Back Up Now” button when you are ready.
The buttons in the Backups section become inactive while the backup is being performed and are grayed out.
Your iPhone is now being backed up, as evidenced by both a status message and the graph located at the bottom of the screen.
As soon as the backup is finished, the buttons will become available once more, and the date for the most recent backup that was performed on this Mac will change to today and display the time.
Click the “Restore Backup” button in order to bring your phone back to its previous state using the backup.
Click the Restore button after selecting the appropriate backup from the drop-down menu. After the restore has been finished, you can go ahead and login in to your phone again.
Back Up and Restore Data With iCloud
iCloud is another option for backing up your data, which allows you to do it immediately from your iPhone.
To access your name on your phone, navigate to the Settings menu. After selecting iCloud > iCloud Backup from the menu bar, you will need to activate Back Up This iPhone before tapping the Back Up Now option that displays.
After then, iCloud will be used to back up your phone. After the backup has been completed, you may return to the screen where you configured iCloud to view the amount of storage space that was consumed by the backup.
After you have activated iCloud Backup, a backup will occur automatically once every twenty-four hours beginning immediately following the most recent successful backup.
In order for this to take place, your phone needs to be powered on, linked to a Wi-Fi network, and connected to a source of electrical current.
Additionally, the screen needs to be locked or turned off. If you connect the phone to the computer once more, you will see in iTunes or Finder that the choice under Automatically Back Up has been changed to iCloud and will need to confirm this change before continuing.
If you need to restore the backup or set up a new phone, navigate to Settings > General > Transfer or Reset iPhone on your device.
This will allow you to perform either of these tasks. To delete all settings and content, tap the Erase button. Tap the Continue button after verifying the content that will be erased.
To proceed, enter your passcode. It’s possible that a backup will start up on its own. You can either wait until that backup is finished or select the option to Skip Backup.
In order to disable the Find My and Activation Lock features, you will need to enter the password for your Apple ID and then tap the Turn Off button. Finally, select Erase iPhone from the menu to delete all data from the device.
After your phone’s storage has been wiped clean, you may choose to set it up manually or automatically through another iOS device by following the instructions below.
Select “Restore from iCloud Backup” when you are presented with the Apps & Data screen, and then enter your Apple ID and password to log in to iCloud.
Select the backup that you wish to restore by tapping it. In the event that it is not visible, you can select a backup from the available options by clicking the Show All Backups link.
You can pick and choose which apps and configurations to restore, or you can just select the Continue button to bring back everything.
You will be prompted to configure various features, including Apple Pay, iCloud Keychain, and Siri, on your device.
After that, the backup is used to restore your iPhone, and then your iPhone is restarted. After signing in, please wait while the updates and installations of your apps take place.
Back Up and Restore With Google One
You also have the option of utilizing Google One to back up your iPhone. This will back up all of your Google Drive, Gmail, and Google Photos content, including your contacts, calendar, photos, and videos.
To begin, go to the App Store on your device and search for the Google One app. Once you’ve located it, download and install it. Launch the application, then tap the button labeled “Set up data backup.”
Choose the content that you would like to back up, such as Contacts, Calendar, and Photos and Videos, and then decide whether you would like to back up the data using a cellular connection or restrict it to Wi-Fi only.
When you tap Back up now, your data will be backed up to the servers maintained by Google. It is imperative that you keep the application open throughout this period; else, the backup will be put on hold.
To determine how much space has been consumed by the backups, navigate back to the home screen and scroll down until you reach the Storage area.
Alternatively, you can tap the Storage icon located on the bottom toolbar. The graph within the app demonstrates the manner in which the data was distributed throughout Google Drive, Gmail, and Google Photos.
Swipe down to see a list of the data that was saved from your current device to the cloud. You can modify the kinds of data that are stored up in the future by tapping the Backup settings button.
If you wish to recover the data, you will need to go to each separate service because the iPhone app does not include a restore capability.
How to Back Up and Restore Your iPhone 2024:Newshub360.net
Related Post
Credit :www.Newshub360.net


